As you dive into the world of Paint by Numbers, it's important to equip yourself with some knowledge and techniques to ensure a successful outcome on your project. Read on for some valuable tips and insights to help you get started on your first Paint by Numbers project with confidence!
Getting Started with Your First Paint by Numbers Project
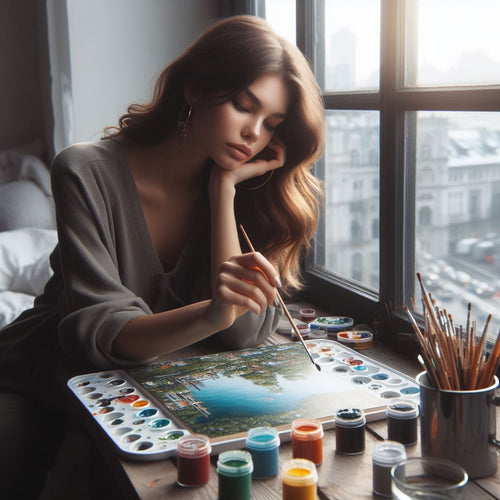
Starting your first Paint by Numbers project is an exciting endeavor that allows you to get creative and create a beautiful piece of artwork, but it can also be a little intimidating if you’ve never explored your artistic abilities. However, the best part of a Paint by Numbers painting project is it allows you to unleash your hidden potential with greater ease and simplicity, while still creating beautiful art.
Choosing Your First Paint by Numbers Kit
The first step is to select a Paint by Numbers kit that suits your interests and skill level, particularly if you’re using a personal photo. Consider the following factors when choosing or creating your kit:
- Subject: Decide on the type of image you’d like to paint. It could be a landscape, animal, still life, or even a portrait. Be sure to choose something that really resonates with you and sparks your enthusiasm.This will keep you inspired to approach your project with both excitement and care.
- Complexity: Consider your current skill level and the level of intricacy you are comfortable with. Beginners may want to start with simpler designs, while more experienced painters can opt for more challenging and detailed kits. Choose a kit with less paint colors to start, and as you progress in your skills, move on to kits with more paint colors and fine detailing.
- Size: Determine the size of the canvas. Kits come in various sizes, so choose one that fits your desired finished artwork dimensions, taking into consideration if you will want a frame for your project.
- Quality: The Paint by Numbers kit you choose will include materials such as the pre-printed canvas, brushes, and set of numbered acrylic paints to match the numbers labeled on the canvas. However, you may want to add additional quality brushes of different sizes, a palette for mixing paint colors as you progress, and an easel for painting with ergonomic comfort.
Understanding the Supplies Included in the Kit
Once you receive your kit, familiarize yourself with the included supplies.
- Pre-printed Canvas: This is the foundation of your artwork, the sections will be marked by numbers that correspond to specific colors.
- Paints: Your kit will include a set of acrylic paints, labeled with numbers that match the sections on the canvas. These paints are water-based and easy to work with.
- Brushes: Your kit will come with a set of brushes suitable for different areas and details of your painting, but again, you may want to order additional brushes should one get ruined or misplaced.
- Color Key: A color key or chart will be provided, indicating which number corresponds to each color. This will guide you to filling in the sections with the appropriate paint. We also recommend taking a close up photo of your canvas before the painting begins. This will serve as an extra guide.
Techniques to Perfect Your Paint by Numbers Skills
Once you’ve got all of your supplies laid out, be sure you have a comfortable workstation that’s clean and free of clutter and distractions. Also, be sure the lighting is bright enough to see your work clearly. You may want to leave your project out so that you can return to it with ease whenever time allows.
How to Properly Use the Brushes
- Start with a clean brush: Before dipping your brush into the paint, make sure it is clean from any previous color. Rinse the brush with water and pat it dry with a paper towel. Have a jar with water nearby for rinsing and a rag or paper towel to dry the brush after rinsing it.
- Use the right brush size: Different sections of the canvas require different brush sizes. Use smaller brushes for intricate details and larger brushes for broader areas.
- Apply the paint with gentle strokes: Dip the brush into the paint and apply it to the corresponding numbered section on the canvas. Use gentle strokes to fill in the area, ensuring an even and consistent application of paint. Start with less paint until you get comfortable with your brush stroke, and then increase to the amount that covers the section evenly. Start with a larger section to develop a level of comfort with the brush and paint application.
- Clean the brush between colors: If you need to switch to a different color, rinse the brush thoroughly and dry it before dipping it into the new paint. This will prevent color mixing and ensure vibrant and accurate results. There may come a time as you gain more experience where color mixing and overlapping might be suitable for a certain project, such as a landscape, but for now, avoid mixing colors.
Understanding the Numbering System
- Follow the numbered sections: Each section on the canvas is marked with a number that corresponds to a specific color. How you approach the sections will differ. There really is no right or wrong, but when completing your first project you may want to begin by completing the largest section first, taking great care not to paint over any of the smaller intricate sections. Or you can start with the lowest number and start painting from there.
- Work in a systematic manner: To avoid smudging or accidentally painting the wrong section, work in a systematic manner. Start from one side of the canvas and progress to the other, ensuring that the painted sections are dry before moving on to adjacent areas. If working with an easel, you can always turn your painting so that you can work comfortably without reaching over completed sections and tiring your working arm. Painting with an easel that’s set up on your workstation will allow you to maintain a relaxed posture while sitting upright, avoiding unwanted neck and shoulder aches. Take time to stretch out if working for longer periods of time.

Common Challenges Beginners Face and How to Overcome Them
Dealing with Small, Difficult Areas
- Use a smaller brush: When dealing with small and intricate areas, switch to a smaller brush size that allows for better precision. This will help you accurately fill in the tiny sections without smudging or going outside the lines.
- Take your time: Patience is key when working on small areas. Take your time and work slowly, ensuring that each section is filled in with the correct color. Use controlled brush strokes to maintain accuracy.
- Utilize magnifying tools: Consider having a magnifying glass in your workstation to help you see detailed sections more clearly. This can greatly assist in working on those challenging small areas.
What to Do If You Run Out of Paint
- Plan your paint usage: Before starting your project, analyze the colors and their quantities. Your kit should come with the required amount for each section, but should you anticipate running out of a particular color, consider using less paint on areas that require that color, or use alternative colors that closely match.
- Mix colors to create a similar shade: Should you run out of a specific color and don't have a replacement, try mixing other colors to create a similar shade. Experiment with different combinations until you achieve a close match. This is where a paint pallet comes in handy!
- Contact us: Though rare, should you completely run out of a specific color and can’t find or create a suitable replacement, we may be able to provide you with a replacement or assist you with alternative solutions.
How to Fix Mistakes
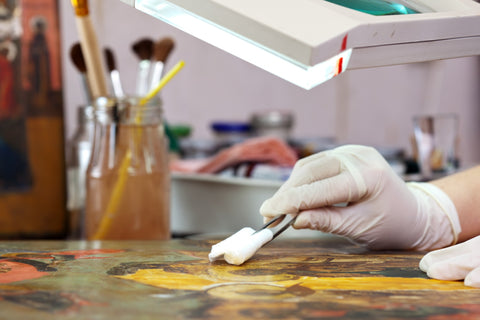
- Act quickly: If you make a mistake, it's best to address it quickly before the paint dries. Use a moist cotton swab to gently wipe off the incorrect color, being careful not to smudge the surrounding sections.
- Paint over the mistake: If the mistake cannot be easily removed, consider painting over it with the correct color once it has dried. Use your color guide if you aren’t sure what the correct color is underneath. Depending on the mistake and the color involved, you may need to layer the paint or blend it with adjacent sections for a seamless finish.
Making mistakes is a natural part of the learning process. Don't be discouraged if you encounter challenges along the way. By implementing these solutions, you can overcome common mishaps and continue creating beautiful art.
Maintaining Your Paint by Numbers Kit
Proper maintenance of your Paint by Numbers kit is essential to ensure its longevity and to preserve the quality of your artwork.
Cleaning Your Brushes
- Rinse brushes thoroughly: After each painting session, rinse your brushes under running water to remove any excess paint. Make sure to remove all traces of paint from the bristles.
- Use mild soap or brush cleaner: Occasionally, use a mild soap or specialized brush cleaner to deep clean your brushes. Gently swirl the brushes in the soap solution, rinse well, and reshape the bristles.
- Dry brushes properly: After cleaning, gently wipe off any excess water and reshape the bristles. Lay the brushes flat to air dry completely before storing.
Storing Unused Paint
- Seal paint containers tightly: To prevent the paint from drying out, ensure that the lids of the paint containers are securely closed after each use. If left open, the paint color will harden and dry out. Should this happen by mistake, try adding a few drops of water to bring the paint back to the right consistency.
- Store paints in a cool, dry place: Find a suitable storage area that is away from direct sunlight and extreme temperatures. Keeping the paints in a cool and dry environment will help prolong their shelf life. An old shoe box works great!
Preserving Your Completed Artwork
- Allow the painting to dry completely: Once you have completed your Paint by Numbers artwork, set it aside in a clean and dust-free area to dry completely. An easel is great for this. Avoid touching it until it is fully dry.
- Protect the artwork with a fixative: Consider using a sealer spray to protect your completed artwork. This will help to prevent the colors from smearing or fading over time.
- Displaying your artwork: Choose a suitable location to display your completed painting where it is protected from direct sunlight, humidity, and dust.
By following these maintenance tips, you can ensure that your Paint by Numbers kit remains in good condition, your brushes stay in optimal shape, and your completed artwork is properly preserved.
Now it's time to get started with your Paint by Numbers project and create a work of art that you can be proud of!
Happy Painting!